Mechanical keyboards
Mechanical keyboards. A topic so deep I am not even going to pretend that I understand half of it. In fact, everyone prefers something different in a keyboard.
Do you want a large or a small one? Do you want clicky buttons or dead silent ones? Do you want high travel or low profile, laptop style keys? Do you want crazy looking gaming keyboard with RGB lighting effects or a subtle professional looking tool for the job?
These are all questions that keyboard aficionados ask. If you want to go down that rabbit hole, feel free to visit r/MechanicalKeyboards on reddit, but remember that I warned you - you may end up having 10 different keyboards and explaining to all your friends and family how you basically cannot type without your 300$ colemac ergonomic ortholinear split gasket mounted custom keyboard with lubed blue switches and customised o-rings.
My custom keyboard
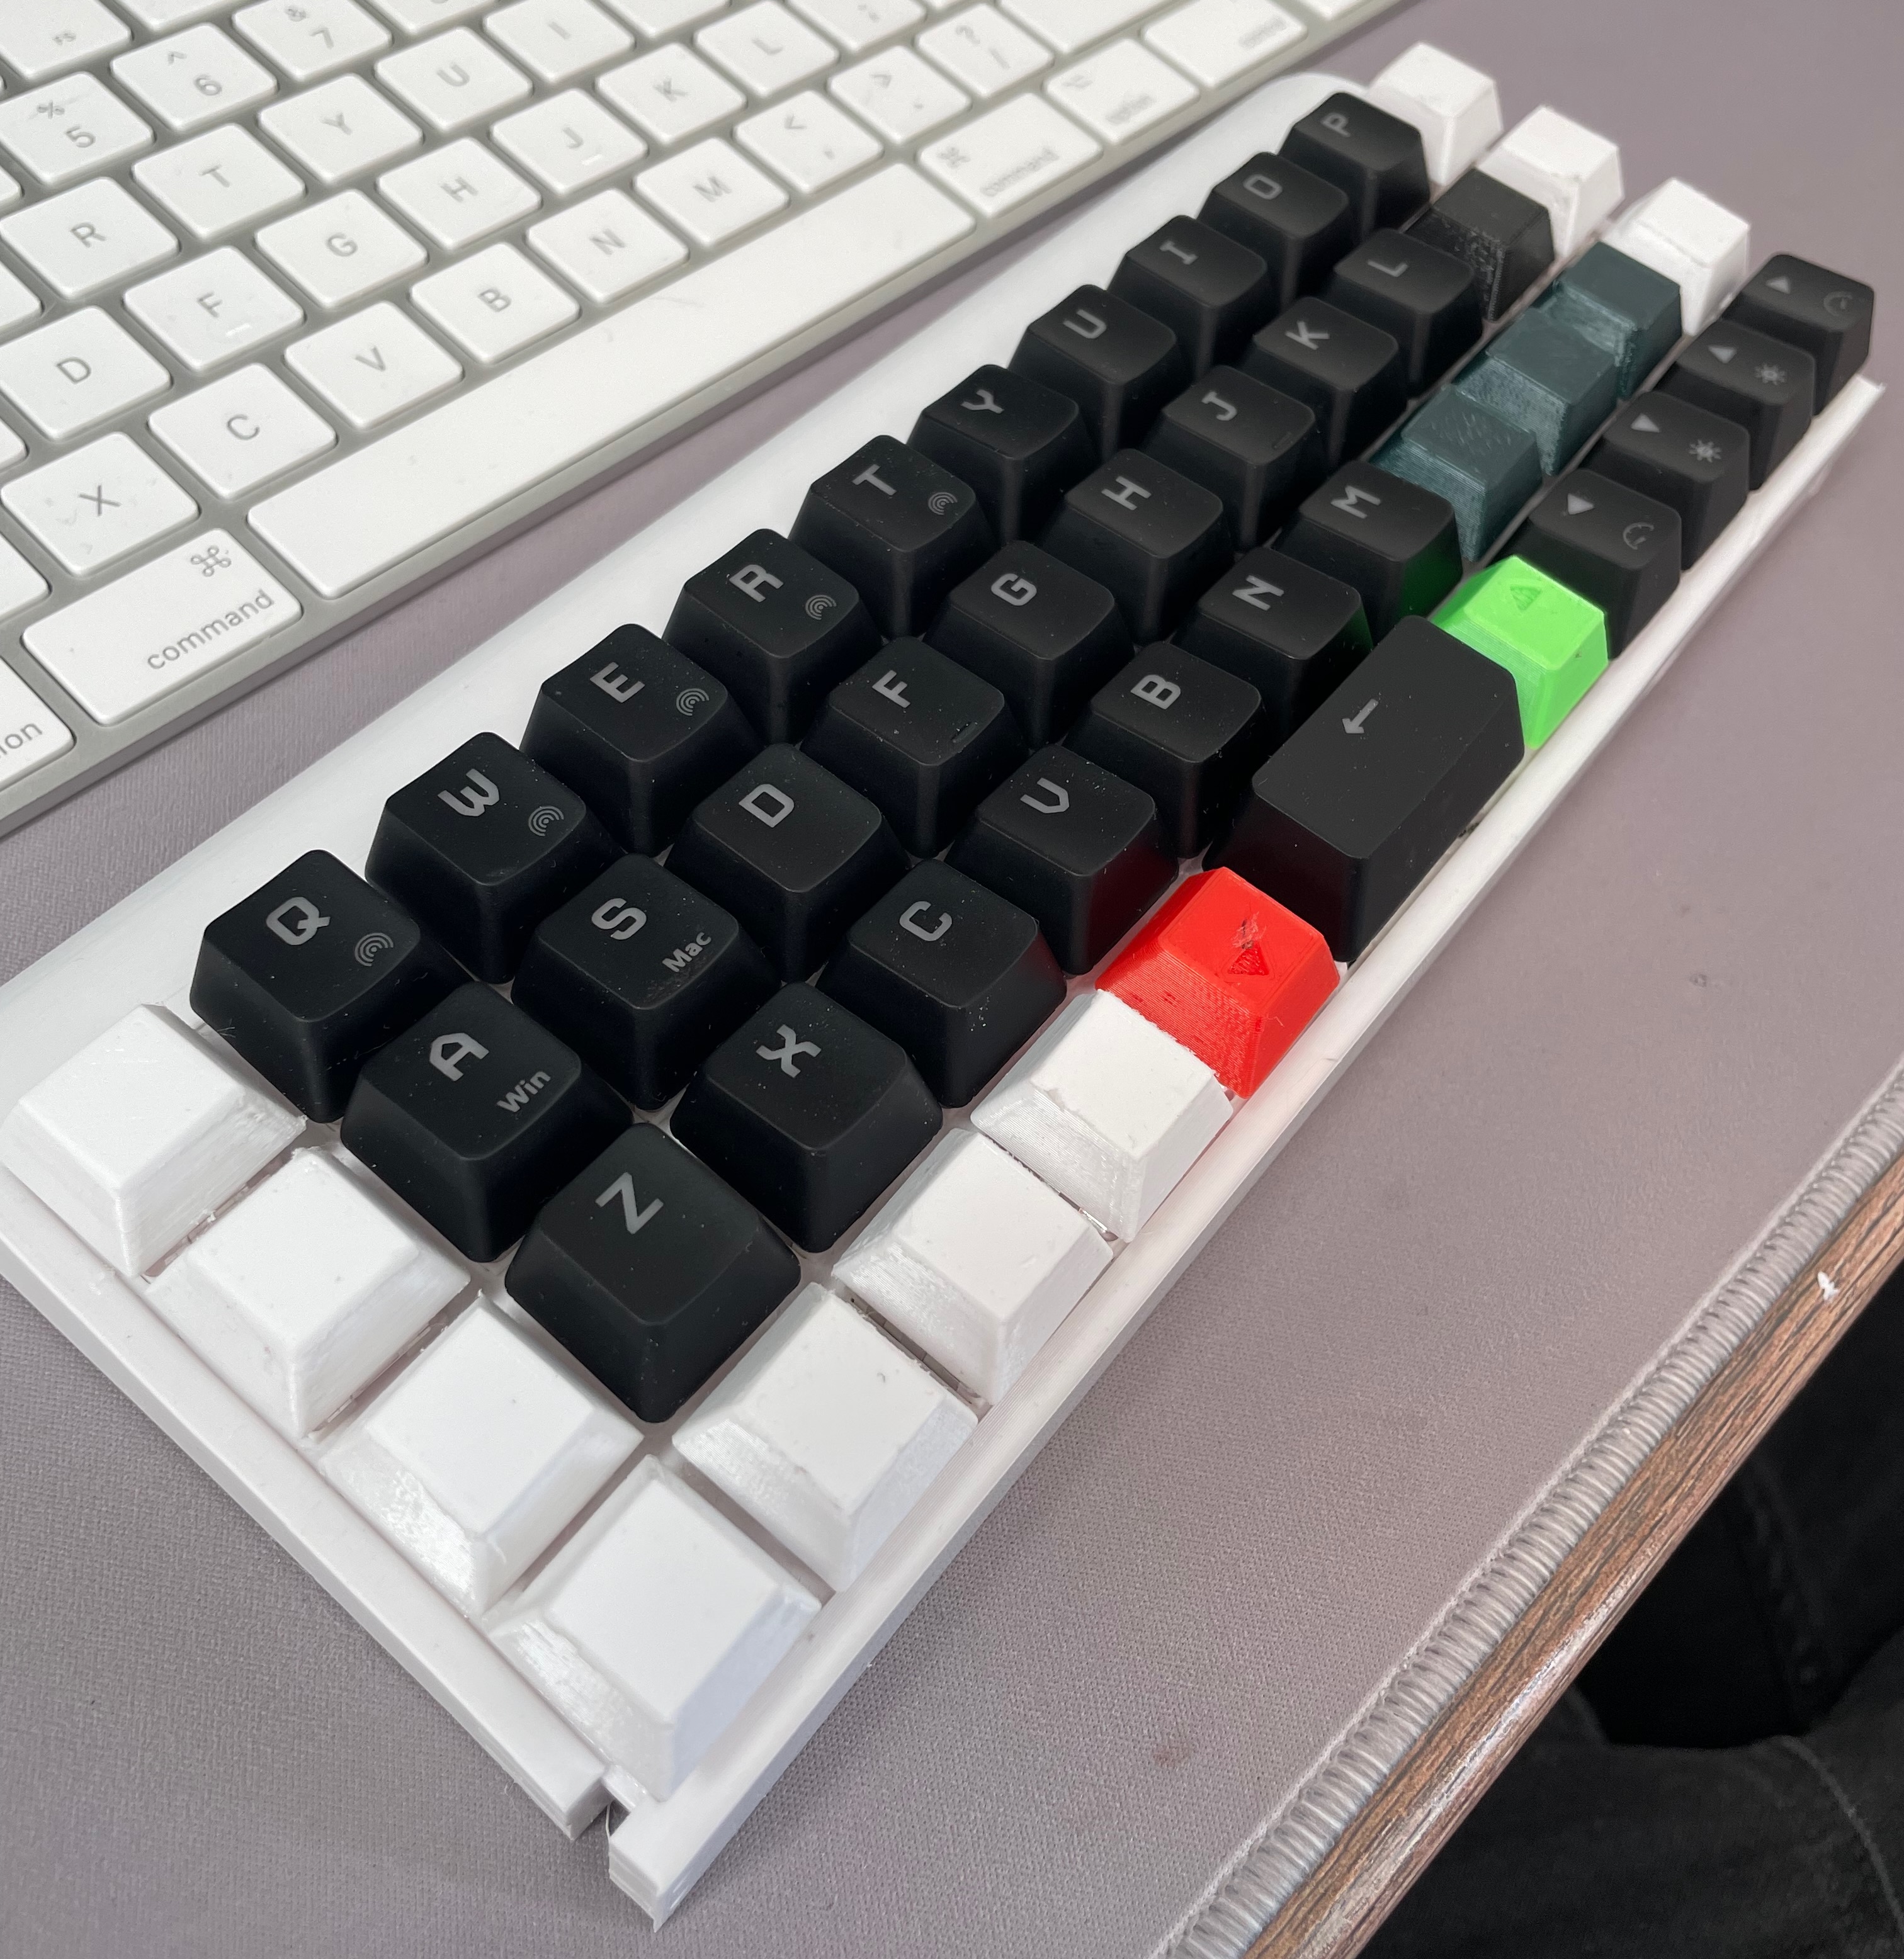
To be honest, I am not that deep in mechanical keyboards. For me the most important factors was always typing comfort and keyboard size (I just love small things in general). For these reasons, either my MacBook pros or Thinkpads worked just fine for me. I found myself looking at mechanical keyboards mainly because there is not much choice if you want to buy a compact 60%, 65% or even TKL keyboard outside of mechanical ones.
Then I came across the Planck keyboard. It was not only 40%, but also ortholinear, which is something was really curious about. But it is very expensive and hard to get. And that is when the idea of building custom came up.
The basics
I choose a 3D printed, handwired keyboard powered by Raspberry pi pico. 3D printed because it is easy and I have a printer at hand, handwired because I could not be bothered to learn designing PCBs and waiting (and paying) for them to be manufactured and powered by Raspberry pi pico, because it has enough pins, I had one laying around and it can run python.

The process
The whole process can be followed on the projects GitHub repo: https://github.com/matejpokorny/40-percent-ortholinear-rpi-pico-keyboard. Here I will try to go into what I learned on the way and what would I do differently next time.
The switches and wiring
I choose to harvest my switches from an old used mechanical keyboard. I purchased a used 65% keyboard with Kailh Red switches and got to work desoldering them all. At first it was tedious, but as my skill with desoldering improved, the speed went up as well. I definitely got more proficient with desoldering stuff.
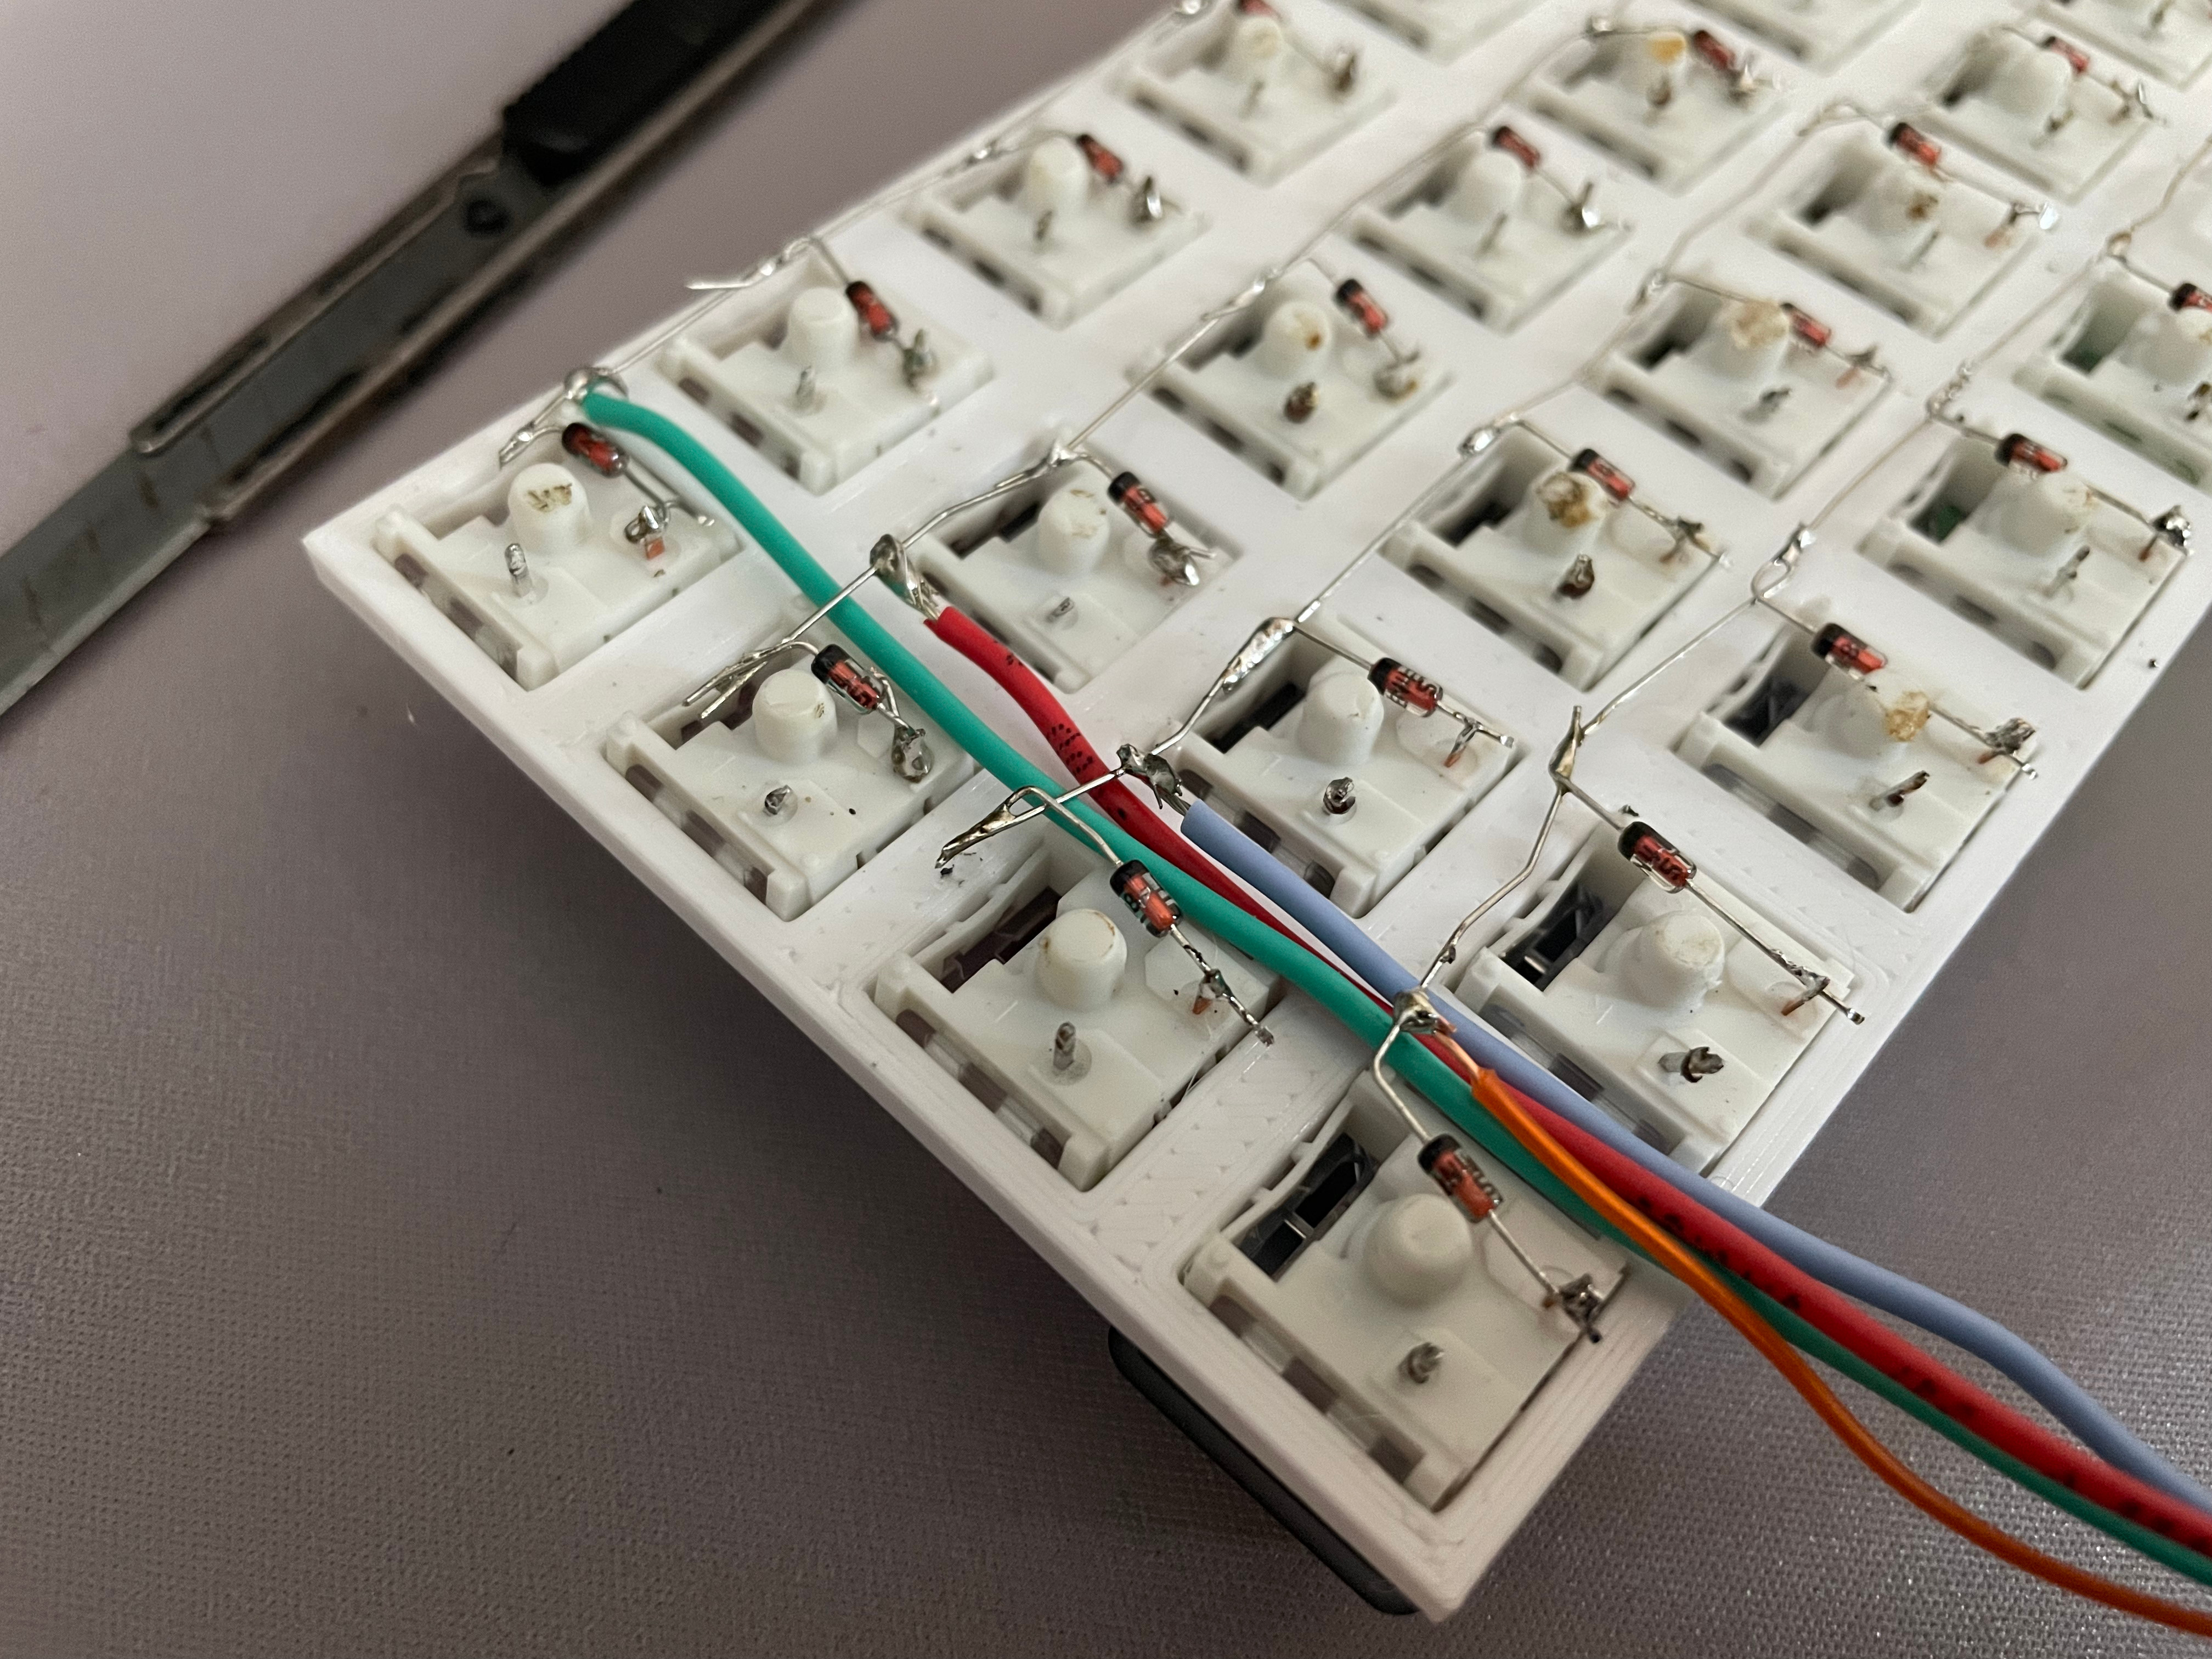
As for soldering the switches together, the process was quite easy, as there is enough space around each contact. Not the hardest soldering job I have done. What would I do differently is my wire/cable choice. I purchased some flexible colourful cables and I also used some older wires that I had lying around to have more colour options and that was a weak point, as the older ones had solid cores and were not flexible enough - most of the older wires that I used were damaged either during the work, or during keyboard assembly and were eventually replaced by the better, flexible cables.

The software
Raspberry pi pico and CircutPython are very beginner friendly, so the software went even smoother than anticipated. I used excellent HID library by Adafruit and had the firmware for the keyboard ready in no time. Later I implemented layer switching. This was a good choice and I dare to say that the software not only runs very good, but is also very readable and modifiable, should anyone choose to be inspired by my project.
The case
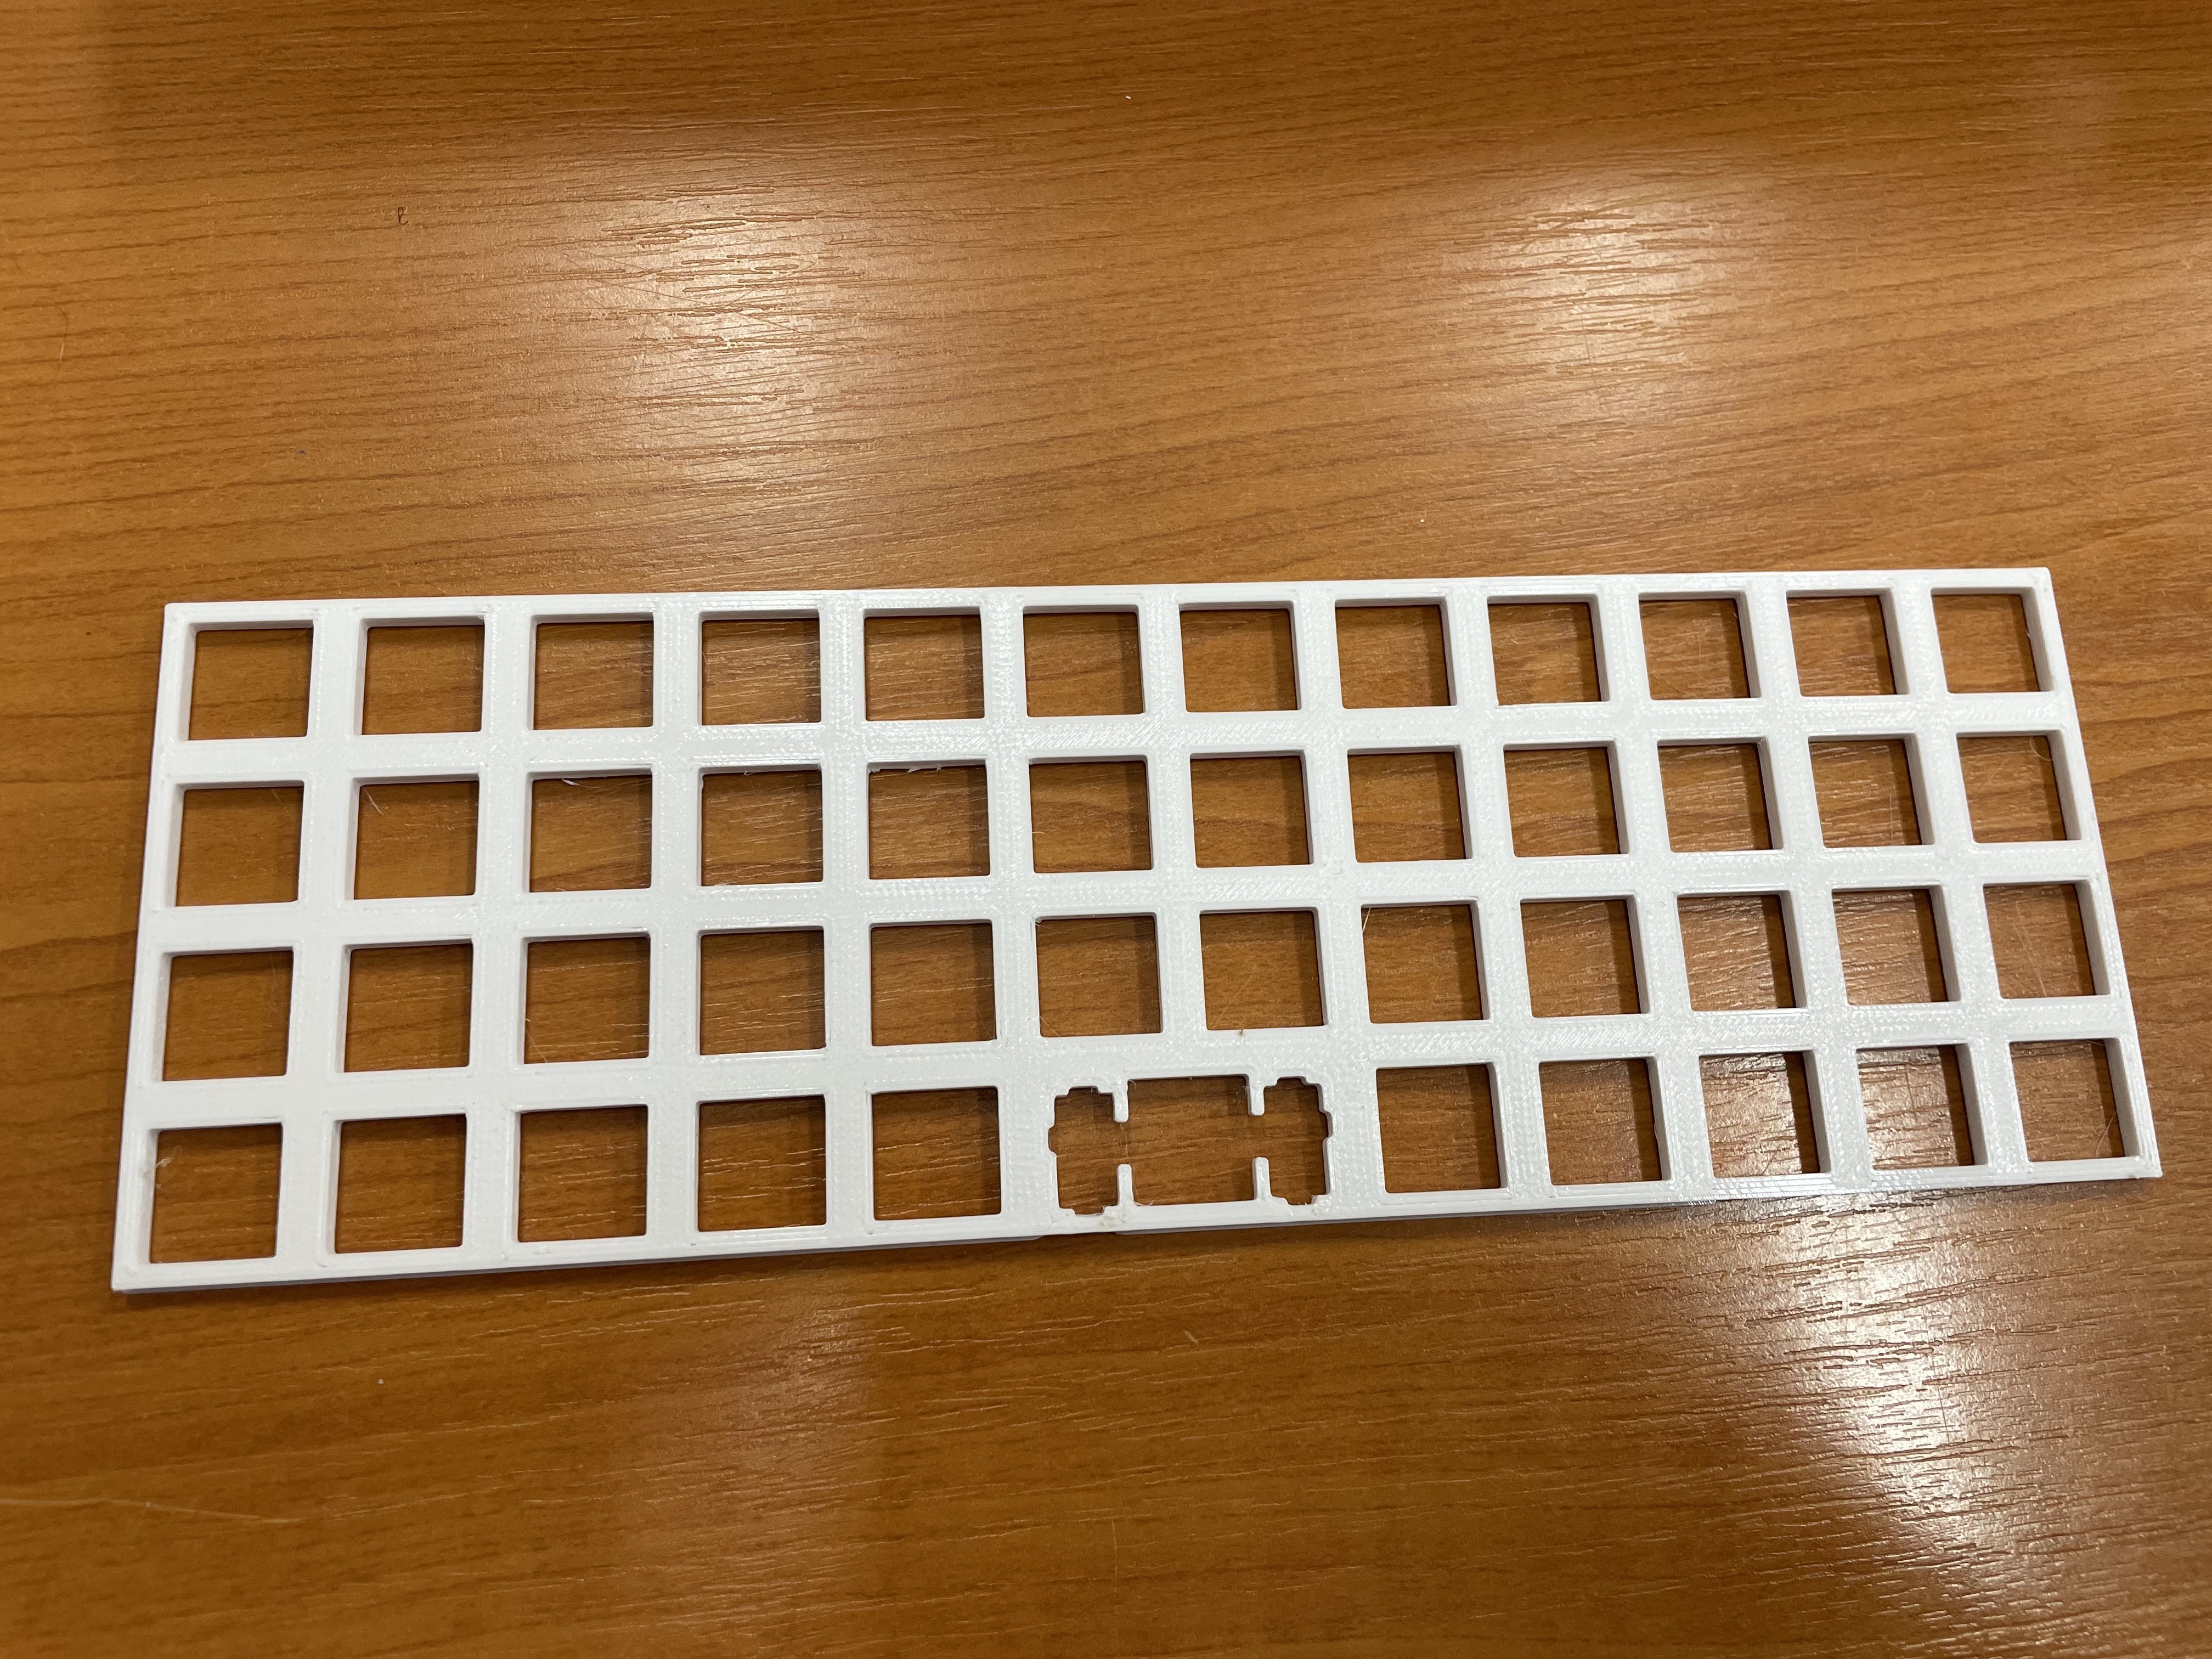
The hardest part. Printing a case that the switch plate could easily slide into, but at the same time not have too much movement one assembled takes experience and repeating. I am currently on my second prototype, which was a little too big. As seen in the photos it is now assembled using zip ties after the case was shortened by sharp side cutters. There is a lot to improve here. Maybe a little pull request someone? 😇
Do I even like it?
This keyboard is not going to be my daily driver anytime soon, not only for the build quality. It is really appealing to have everything just one button finger move away, but when programming, accessing various symbols in other layers did not cut it for me. I will definitely whip the keyboard up for fun or for writing things like blog articles, where the text is much less symbol based.
What I am certain of is that not much is more enjoyable while typing knowing that you built the keyboard yourself and I will highly recommend anyone who is considering doing something similar to jump right into it.